You may have heard of the benefits of solar power (save the planet while saving money – what’s not to love?), but perhaps you still have some questions around how it actually works, and what the process of switching to solar power looks like in reality. Thankfully, switching to solar could hardly be more simple. And to break it down further, we’ve put together this blog post running through the main aspects of the switching process, so you’ve got a clearer idea before you start.
Assessment
All of our solar panel installations are preceded by a visit from an accredited assessor, who will talk you through the process and perform an assessment of your home and the solar equipment you need. Throughout this process, you’ll get plain-spoken, honest advice that makes clear any work that will be required to get you set up with solar. It’s transparency and support like this that leads to us getting such great feedback from our customers.
Installation
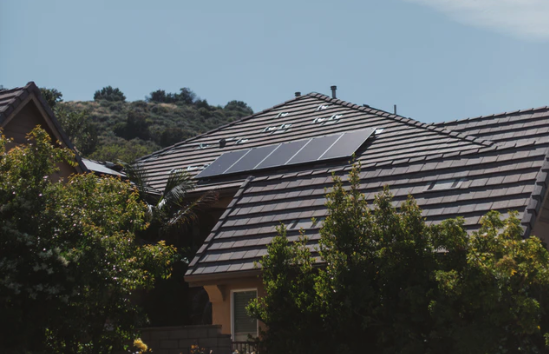
Depending on the results of your assessment, your exact installation process may differ, but broadly speaking it entails our engineers installing and connecting all of the kit you need to start making savings. We usually start with setting up scaffolding, to ensure the safest possible installation process without there being any damage to your property. Following this, we’ll affix the solar panel mounts, which will be angled at around 18 to 36 degrees, to ensure maximum exposure to sunlight, then add the solar panels themselves to these mounts, tightening the fixings so that everything stays nice and stable. Next comes the wiring-up process, in which we install the electrical wiring using MC4 connectors. Once the panels are up and wired in, we connect the solar inverter to the system and then bond it to the solar battery. Hooking it up this way allows for the storage of excess energy, so you don’t have to worry about losing supply during cloudier weather conditions. Next, the inverter is connected to the consumer unit so that electricity generation (which is monitored by a dedicated meter) can begin. Finally, we test the safety and setup of the installation and sign it off for use.
Savings
Once setup is complete, you’re ready to start generating your own solar power from the sun’s rays and enjoying all of the benefits that brings. Like we said, what’s not to love about saving the planet at the same time as saving yourself up to 70% on your household energy bills? But it doesn’t have to stop there. You might also want to explore social energy, which is where you store excess electricity generated by your system and trade it back to the National Grid. We’ve written about how social energy is the future, and we think you might agree. Ask your assessor about social energy during your initial visit and he or she will be only too happy to explain the potential benefits further.

